 |   Making A Vintage Pillow Cover Or Picture |
| |
HOW TO MAKE A PILLOW COVER OR PICTURE
FROM A PIECE OF VINTAGE OR ANTIQUE NEEDLE ART
Selections of vintage & antique needle arts may be found on:
Samplers & Needle Arts
&
Vintage & Antique Pillow Covers & Pillow Fronts
SITE MAP
 Get to Know Us
 Ladies' Accessories
Irish Linen Hankies
With Handmade Lace
Children's & Walt Disney Hankies
 Linens For Your Home
Vintage Towels
Vintage Table Toppers
(large doilies & small tablecloths)
Vintage Napkins
Vintage Cocktail Napkins
Vintage Doilies
Small Table Linens
Roll Covers, Etc.
Vintage Pillowcases & Shams
Pairs of Vintage Pillowcases
 Articles About Linens
 The Charm Of Vintage Linens The Wonderful Buttonhole Stitch
Collecting Vintage Cocktail Napkins
Home Decorating With
Vintage Linens & Textiles
 Misc. Articles
 Details
|
|
|
|
|
|
shadoW0W
|
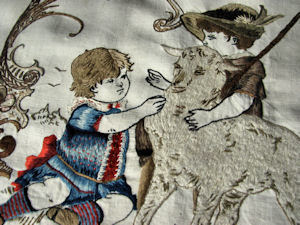
Gently hand-wash the piece or have it dry cleaned. If it needs to be ironed, spread a terrycloth towel over your ironing board and place the piece front-side down on the towel and iron the back. I like to use a little spray starch. This technique will make the embroidered design show to its best advantage; enhancing the three-dimensional effect of the stitching. Trim any rough edges. Clip any long threads on the back of the handwork; because, if left, they may show as unwanted squiggly shadows through the fabric of the finished piece.
Prepare The Needle Art
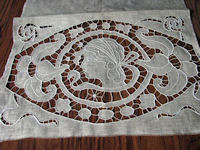
Whether you plan to frame your needle art or to make it into an accent or throw pillow cover, the first step will be preparation.
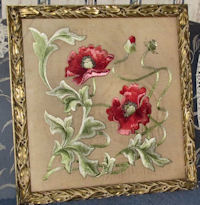
To Frame A Piece of Needle Art
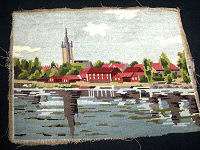
Choose a frame or frame-with-mat whose inner opening is a little smaller than your piece. If you have chosen an antique frame, you may need to replace mat, glass and/or cardboard backing; a new frame will usually come complete with everything. Use a few drops of glue at the very outer edges of the cardboard backing to secure the fabric. When dry, re-assemble and hang your picture.
To Make A Pillow Cover
|
|
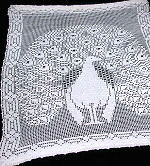
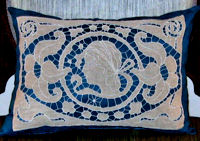
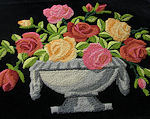
The easiest way to make a pillow cover from a vintage or antique needle art piece is to apply the needle art to an existing pillow. Choose a pillow whose front is a little larger than your piece; usually a solid color shows the artwork to its best advantage. Fold the rough edges twice toward the back, hem and press. Sew the piece to the front of your pillow. Done!
Cut a piece of backing fabric to the size and shape of your needlework piece. Place them together with the front of the needle art facing the backing. Seam them almost all the way around, leaving a 4" to 6" opening, usually at the bottom edges of the design. Now you have an inside-out pillow cover. Turn it right-side out and use a finger to poke out the corners.
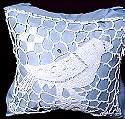
Choose a pre-formed foam pillow, batting or stuffing from the fabric store or available on the web. If your pillow cover is white lace, you will probably want to wrap the filling with a contrasting color. Fill your pillow cover through the opening. Use your hand to distribute the filling evenly. Baste the opening closed; stitch loosely so that you can easily open the pillow cover next time it needs to be cleaned.
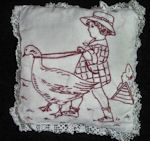
A more finished appearance can be achieved by making an entirely new pillow cover featuring your vintage needle art.
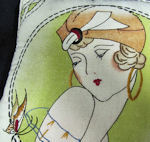
Needle Art
Becomes
Finished Pillow Cover
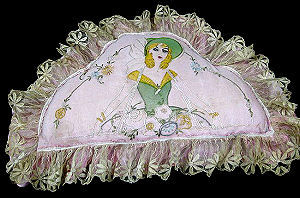
Optionally, you may add a decorative edging. Your local fabric store or Google search will display a huge variety of cord, braid, ruffles and lace. Measure all around your pillow cover and buy a piece just a little longer. Sew it on just in front of your seam (in front of the opening).
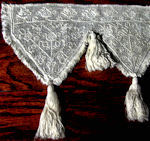
Enjoy Your Very Own Unique Vintage Pillow Cover Or Picture!
|
|
|
Updated 09/16/2014
